So, most of you working with Kofax products are likely to use .NET components, and probably even build your own using Visual Studio. Let’s imagine you want to reuse your already existing methods in KTM. Well, as KTM only is capable of working with COM objects and Microsoft is giving us a hard time when making our .NET components COM-visible, this is somewhat tricky.
!RtW, part 2: .NET classes in KTM
This article shows you the following:
- how to create a very simple .NET class in C#;
- how to make your assembly COM-visible;
- how to register your assembly, even on your customers’ system;
- how to use your methods within KTM.
Please also note that I’m not an expert programmer, so this might not be the most ideal solution; however, it has worked for me quite well, and I reckon that most people working with KTM are not hardcore programmers either. So it could serve you well, too.
The use case: the class developed should return information to KTM, plus it should change an internal KTM object, in my case the content of an index field (out of the xDoc object).
First of all, here is my very simple class.
using System;
using System.Collections.Generic;
using System.Linq;
using System.Text;
using CscXDocLib;
// for COM dispatch
using System.Runtime.InteropServices;

namespace KTMFunctions.helper
{
	// COM dispatch identifiers
	[Guid("E160D5E6-88C0-11E3-812D-A1D3FB92346D")]
	[InterfaceType(ComInterfaceType.InterfaceIsIDispatch)]
	public interface IXDocHelper
	{
		[DispId(1)]
		String Test();
		[DispId(2)]
		void AlterxDocFields(CscXDocument xDoc);
	}

	[ComVisible(true)]
	// make sure the GUID is re-generated when using copy & paste
	[Guid("E7D9317A-88C0-11E3-8EBA-A1D3FB92346D")]
	[ClassInterface(ClassInterfaceType.None)]
	[ProgId("KTMFunctions.helper")]

	public class XDocHelper : IXDocHelper
	{

		public XDocHelper()
		{
		}

		public String Test()
		{
			return "your test was successful!";
		}

		public void AlterxDocFields(CscXDocument xDoc)
		{
			for (int i = 0; i < xDoc.Fields.Count; i++)
			{
			xDoc.Fields[i].Text = "it worked!";
			}
		}
	}
}
First things first: you’ll see that there are two different methods that realize my use cases; Test returns a string, in this case “your test was successful!”, and AlterxDocFields changes the value of each and every field to “it worked!”. Note that I needed to reference the CscXDocLib.
Now for all the other stuff: most of the lines of code are required for COM visibility and dispatching. First of all, you’ll note some lines above the class XDocHelper. Those are called attributes, and all of them are, as said, related to COM:
[ComVisible(true)]
// make sure the GUID is re-generated when using copy & paste
[Guid("E7D9317A-88C0-11E3-8EBA-A1D3FB92346D")]
[ClassInterface(ClassInterfaceType.None)]
[ProgId("KTMFunctions.helper")]
They either set the COM visibility of our class, plus they include a GUID that you must change every time you copy & paste these attributes; and lastly, you’ll see the ProgId – a textual representation of the class id that must be unique.
Now, you’ll also see that my class implements an interface – this is required for COM (you guessed it), especially for dispatching the methods. So, an easy explanation: you must repeat all of the methods you want to expose for COM.
// COM dispatch identifiers
[Guid("E160D5E6-88C0-11E3-812D-A1D3FB92346D")]
[InterfaceType(ComInterfaceType.InterfaceIsIDispatch)]
public interface IXDocHelper
{
	[DispId(1)]
	String Test();
	[DispId(2)]
	void AlterxDocFields(CscXDocument xDoc);
}
In our case you can see that I exposed both methods with the same return type.
A lot of work just to get two very simple methods to work with COM. Guess we’re finished? Guess again. That’s not all.
In the project properties, you must make sure that the assembly will be visible to COM. Select and right-click on your project, select “Application”, then click on Assembly Information. There’s another GUID which I will change; I’m not sure, probably this one is automatically generated by Visual Studio every time I create a new project, but just to be on the safe side. However, you must check the “Make assembly COM-Visible” box.

Thereafter, you MUST make sure that your class contains a parameterless constructor. Usually that’s not a problem as C# always creates an “empty” constructor, but this applies only if you haven’t created a constructor. If you had, and let’s say one with a different signature, the default (parameterless) constructor would be missing, so you have to create it by hand.
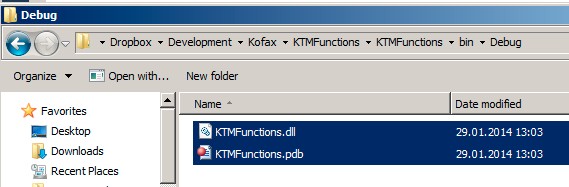
No we’re almost done: you should build your application now. One thing remains: registering the resulting DLL on the target machine. First of all, copy the contents of the Debug (or Output) directory to the target directory (I usually copy them to ServLib\Bin). The next screenshot shows you the two files you’re expected to copy:
The registration is quite easy, as the framework provides us with a (command line) program for that purpose: regasm.exe
%windir%\Microsoft.NET\Framework\v4.0.30319\regasm KTMFunctions.dll /tlb:KTMFunctions.tlb /codebase /s
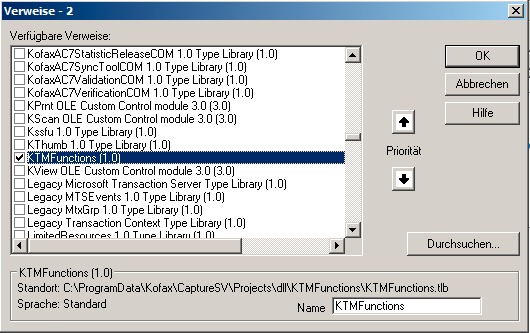
Thereafter, you are ready to go, so we can use our class in KTM.First, we need to add a reference, so open up the script, and hit “Edit” – “References”. As you can see, my dll is visible, so I check the box to add the reference.
For the usage: in my case, I created a script locator that makes use of the AlterxDocFields method:
Private Sub SL_PopulateFields_LocateAlternatives(ByVal pXDoc As CASCADELib.CscXDocument, ByVal pLocator As CASCADELib.CscXDocField)

Dim xh As New XDocHelper
xh.AlterxDocFields(pXDoc)

End Sub
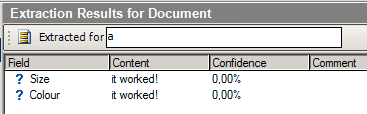
After extracting the document, you can see that the fields’ values have been altered:
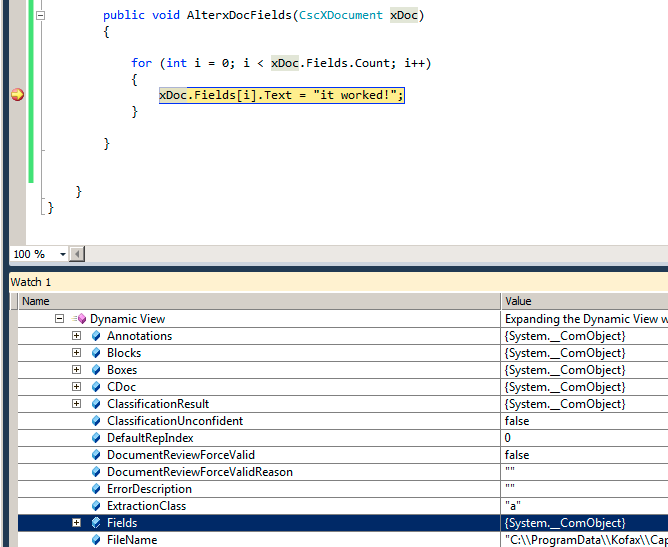
Now it’s your turn! Ah, and there is one last and very neat feature: you can also use debugging out of Visual Studio. Just select “Debug” – “Attach to Process” and then select the Project Builder.
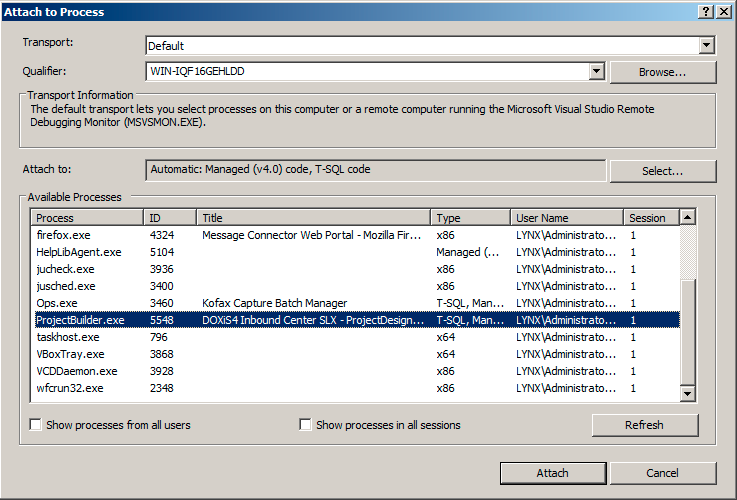
As you can see, my current break point is hit when extracting the document out of KTM:
So, as you can see, it takes some time to get accustomed to building COM with .NET, but once you get it working, the possibilities are endless.